HOW TO SKETCH THE PORTRAITS - EXPLAINED STEP BY STEP FOR BEGINNERS:
PENCIL SKETCH OF NAYANTHARA:
[Note: To learn the basics of sketching, like strokes, shades and light effects kindly view my before posts, so that you can get some idea to improve your skill in sketching.... ]basics of pencil sketching for BEGINNERS
Step 1: For this sketch use 2B drawing pencil initially for start up and later for hair curves, used 4B pencil. Finally for shades and overlook, HB and micro tip pencil is used. [HOW TO PENCIL SKETCH THE PORTRAITS - EXPLAINED STEP BY STEP FOR BEGINNERS note: usage of 2B pencil initially will give confidence to your sketch and you'll be comfortable to sketch with it even after u became an excellent artist.]
 |
| use 2B initially |
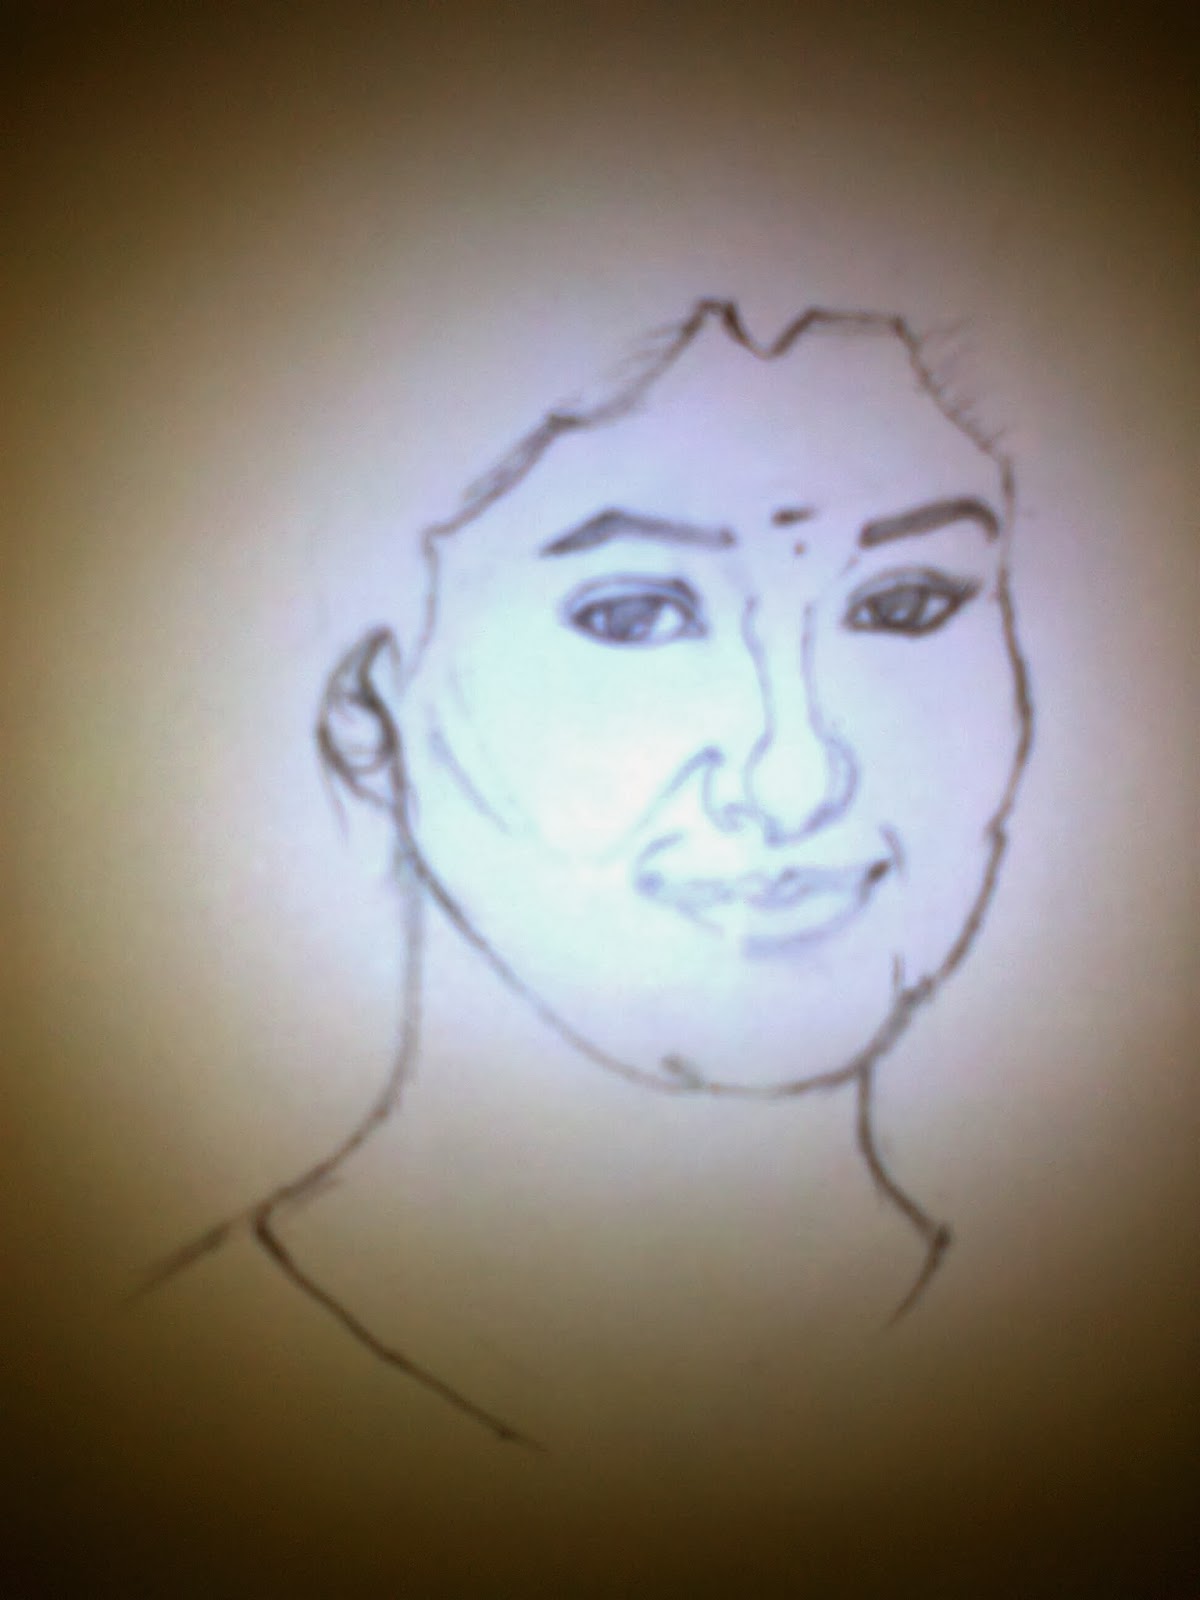
Step 4: From this now make left eye and eyebrows.
Step 5: [Note: all the strokes should be very light] Now draw the fore head, chin, cheeks with the reference of eyebrows, eyes, nose and lips.
Step 6: Now draw the outline of hair with curves.

Step 7: Follow the same idea in the beginning of HOW TO PENCIL SKETCH THE PORTRAITS - EXPLAINED STEP BY STEP FOR BEGINNERS, i.e, draw every stroke by the referring the strokes you'd already drawn, this gives the exact spacing and effective output.
 Step 8: Make sure with the curves before drawing the outfits. Generally the outfits should not rely on the body muscles of the figure, that is the outfits should be out of line of the body muscle.
Step 9: Finally, for shadings, inner curves and lighting effects use the higher graded pencils like 3B, 4B.
Step 10: To get perfect shading effects, you should know something fundamentally. To learn the basic ideas of strokes, shadings, lighting effects kindly read my before posts. Thank you!!! and Hope this session HOW TO PENCIL SKETCH THE PORTRAITS - EXPLAINED STEP BY STEP FOR BEGINNERS, will help at least few people to improve their sketching skill.

No comments:
Post a Comment